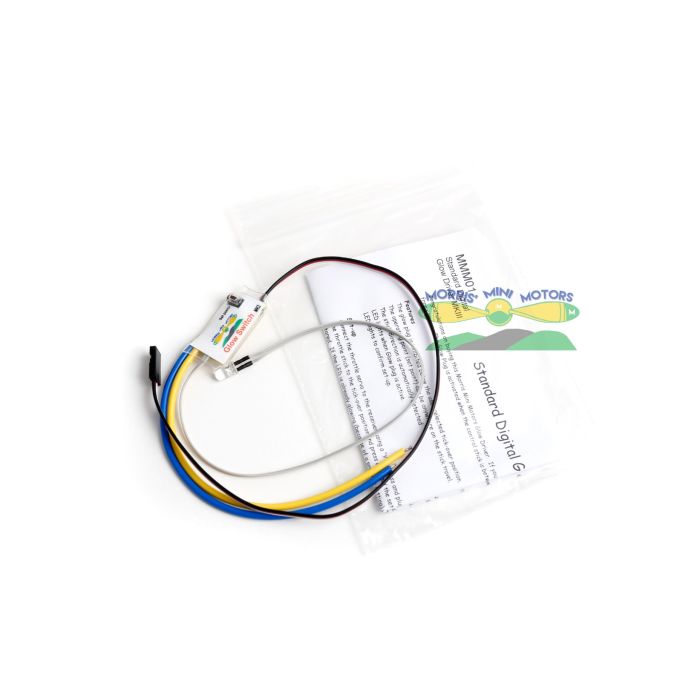
Standard Glow Switch 1 or 2 Cylinders
The Standard Glow switch can operate 1 or 2 glow plugs. The new version uses a one button set system so setting the switch point and direction is very easy.
The customer fits their own NiMHcells according to number of plugs used, 1 cell for a single plug and 2 cells for a 2 plug set-up.
What's in the box
- 1. Standard Glow Switch 1 or 2 Cylinders
The Standard Glow Driver Switch has been designed to switch 1 or 2 glow plugs. The new version uses a one button set system, so setting the switch point and direction is very easy.
The customer fits their own NiCad cells according to number of plugs used 1 cell for one plug and 2 cells for a 2 plug set-up.
Features
- The glow plug is inhibited below the user selected tick-over position.
- The operating point (set point) can be anywhere on the stick travel.
- The stick direction is automatically detected.
- LED lights when Glow plug is active.
- LED lights to confirm set-up.
INSTRUCTIONS FOR USE
The glow plug will be activated when the control stick is below the “set point” and deactivated when the stick is above it.
Set-up
Connect the throttle servo to the receiver using a “Y” harness and plug the Digital Glow Driver lead into the spare arm of the “Y”. Move the throttle stick to the tick-over position and press and hold the set key. The LED glows to confirm that the tick-over position has been stored. If the LED is already glowing (because of a previous setting) when the key is pressed, the LED will blink out before glowing to confirm that set-up is active. Move the throttle stick to the position where you would like the Glow Plug to activate. (About one eighth throttle is a good starting point.) Release the key. The LED goes out to confirm that the set-up is complete.
The tick-over and set points can be adjusted at any time by repeating the set-up instructions above.
When the throttle stick is above the set point, the glow plug is off and LED is dark. As the throttle stick position is reduced to below the set point, the LED will glow to confirm that the Glow Plug is on. Below tick-over, the glow plug is off and the LED is dark.
SAFETY
Please ensure that the set point button cannot be pressed accidentally while the unit is in use.
Wiring
Connect the glow battery and glow clip to the Digital Glow Driver following the diagram below. Be sure to observe the correct polarity of the glow battery.


